

How to Install Bronze Vinyl Wrap on Your Vehicle
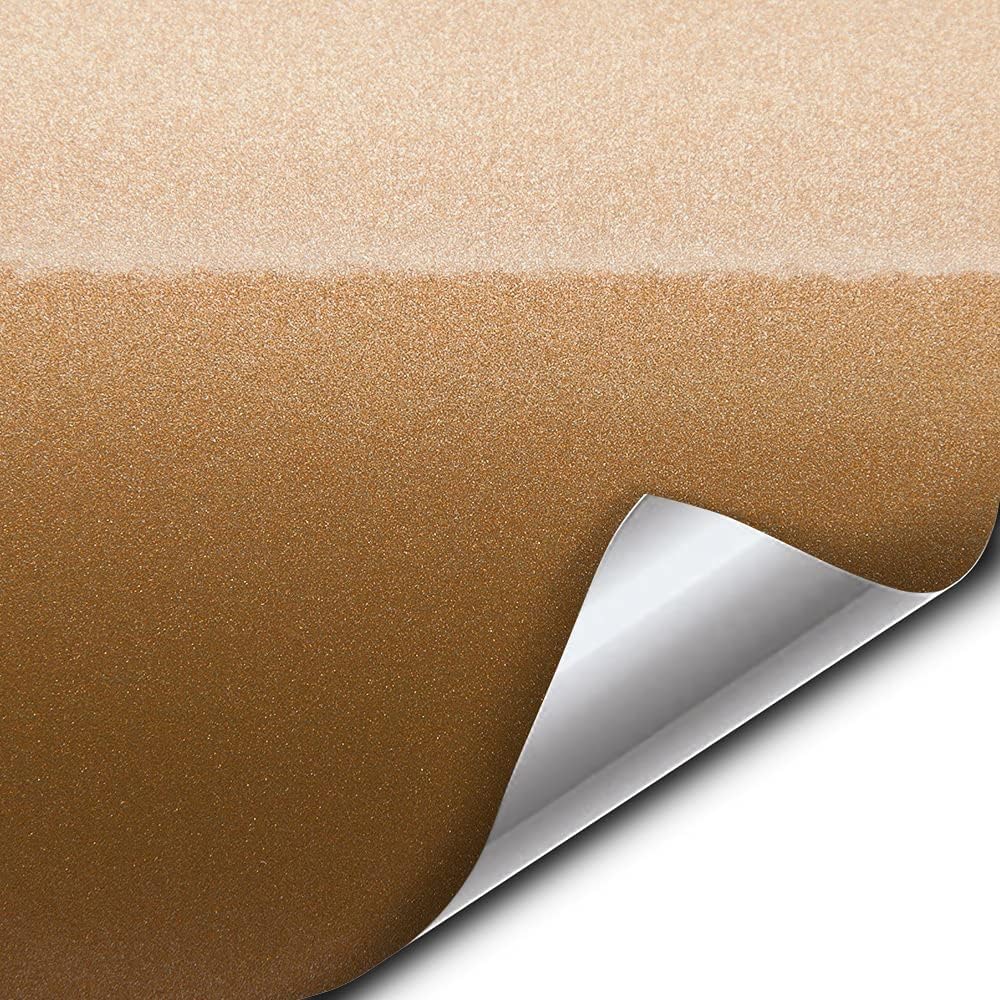
Installing a bronze vinyl wrap on your vehicle is a great way to enhance its appearance while protecting the original paint. With the right tools and a bit of patience, you can achieve a professional-looking finish. Follow these steps to install your Bronze Vinyl Wraps successfully.
---
Tools and Materials You'll Need:
- Bronze vinyl wrap of your chosen size
- Squeegee or application tool
- Heat gun or hairdryer
- Utility knife or precision blade
- Cleaning supplies (soap, water, microfiber cloths, and isopropyl alcohol)
- Masking tape (optional)
---
Step 1: Prepare Your Vehicle
Before applying the vinyl wrap, thoroughly clean your vehicle's surface. Wash it with soap and water to remove dirt and grime, then wipe it down with isopropyl alcohol to eliminate any remaining grease or wax. Make sure the surface is completely dry before moving forward. Any debris left on the surface can cause imperfections in the vinyl application.
---
Step 2: Measure and Cut the Vinyl
Unroll the bronze vinyl wrap and measure it against the section of your vehicle you're covering. Leave an extra inch or two on all sides to ensure complete coverage. Use a utility knife or precision blade to cut the vinyl to size.
---
Step 3: Position the Vinyl
Carefully peel back a small portion of the backing paper from the vinyl wrap. Align the exposed adhesive side with your vehicle's surface, starting from one edge. Gradually peel off more of the backing as you press the vinyl into place. Use a squeegee to smooth out air bubbles and wrinkles as you go.
---
Step 4: Apply Heat for Contours
For curved surfaces or tight corners, use a heat gun or hairdryer to make the vinyl more pliable. Gently heat the vinyl and stretch it over the contours of your vehicle, pressing it firmly into place with your squeegee. Be cautious not to overheat, as this can damage the vinyl.
---
Step 5: Trim Excess Vinyl
Once the vinyl is securely applied, use a utility knife to carefully trim away any excess material. Follow the edges of your vehicle's panels for a clean, precise finish.
---
Step 6: Final Touches
Inspect your work for any remaining air bubbles or imperfections. Use your squeegee and heat gun to address these areas. Once satisfied, let the vinyl set for at least 24 hours before washing or exposing your vehicle to harsh conditions.(Nas Car Wraps)
---
Installing a bronze vinyl wrap on your vehicle can transform its look and protect its paint. With attention to detail and patience, you can achieve an eye-catching finish that will turn heads on the road.
![]()